
Hi! Blackwolf here with an After Action Report from a battle Griddon and I played today down at our local gaming club, the Western Suburbs Wargames Association. I was using my SS-Panzergrenadiers from 9.SS-Panzerdivision while Griddon was using his British Rifle Company from the 15th Scottish Division. Points limit was 1750.
THE LISTS
My list comes from Earth & Steel, using the 2.SS list, as the 9.SS PDF is yet to be updated.
9.SS Panzerdivision - Fearless Veteran
HQ – Upgrade both to SMG/Panzerfaust
SS-Panzergrenadier Platoon – 3 squads + Panzerfaust upgrade
SS-Panzergrenadier Platoon – 3 squads + Panzerfaust upgrade
SS-Panzergrenadier Platoon – 3 squads + Panzerfaust upgrade
SS-Mortar Platoon – 2 sections
SS-Anti-Tank Gun Platoon – 3 PaK40’s
SS-Rocket Launcher Battery – 3 Nebelwerfer NW41’s
SS-Assault Gun Platoon – 4 StuG’s
Field Fortifications – 2 HMG Nests
Griddons list was from Fortress Europe. I’ll have to ask him why he didn’t use the actual 15th Scottish PDF list ;) (Griddon: Because the PDF doesn't allow M10Cs along with a few other points discrepancies for carriers)
15th Scottish Div - Confident Trained
HQ
Rifle Platoon – 3 Squads
Rifle Platoon – 3 Squads
Rifle Platoon – 3 Squads
Anti-Tank Platoon – 2 6 pdr’s
Machine-Gun Platoon – 2 sections + carriers
Tank Platoon – 3 Churchill VI’s + aplique armour
Tank Platoon – 3 Churchill VI’s + aplique armour (only on 2)
Anti-Tank Platoon (SP) – 4 M10C’s
Field Battery, Royal Artillery – 4 gun sections
DEPLOYMENT
The mission rolled was Encounter.
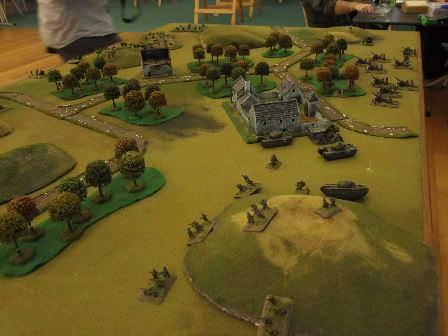
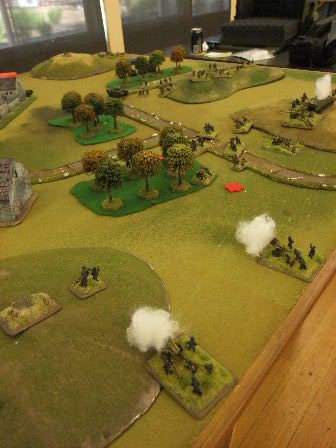
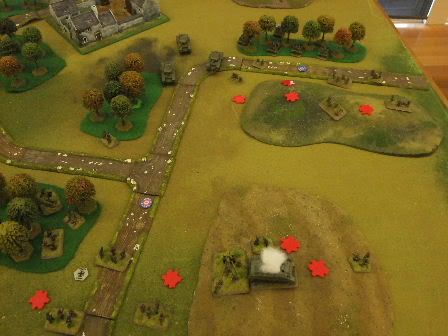
I started with my HMG nests, Nebelwerfers, and a PzGr Platoon near the objective on my left, and my PaK40’s sitting on the objective on my right.
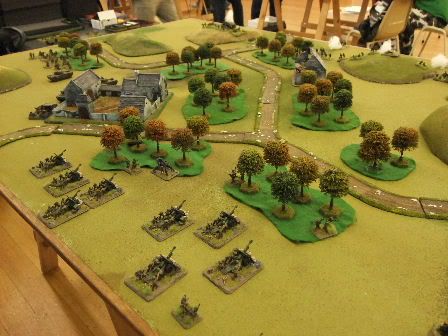
Griddon started with his eight gun battery centrally deployed, the 6 pdr’s watching his right objective, and a Tank Platoon and a Rifle Platoon ready to push on his left flank.
 |
| The British left Flank |
 |
| The German right flank. |
 |
| PaK's on the hill, soon to be the sight of a lot of action |
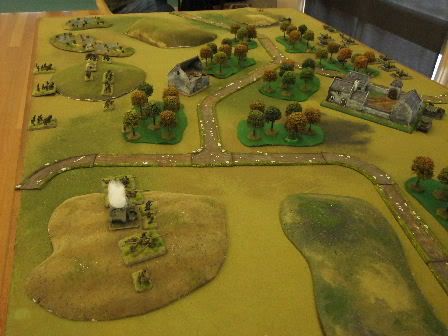
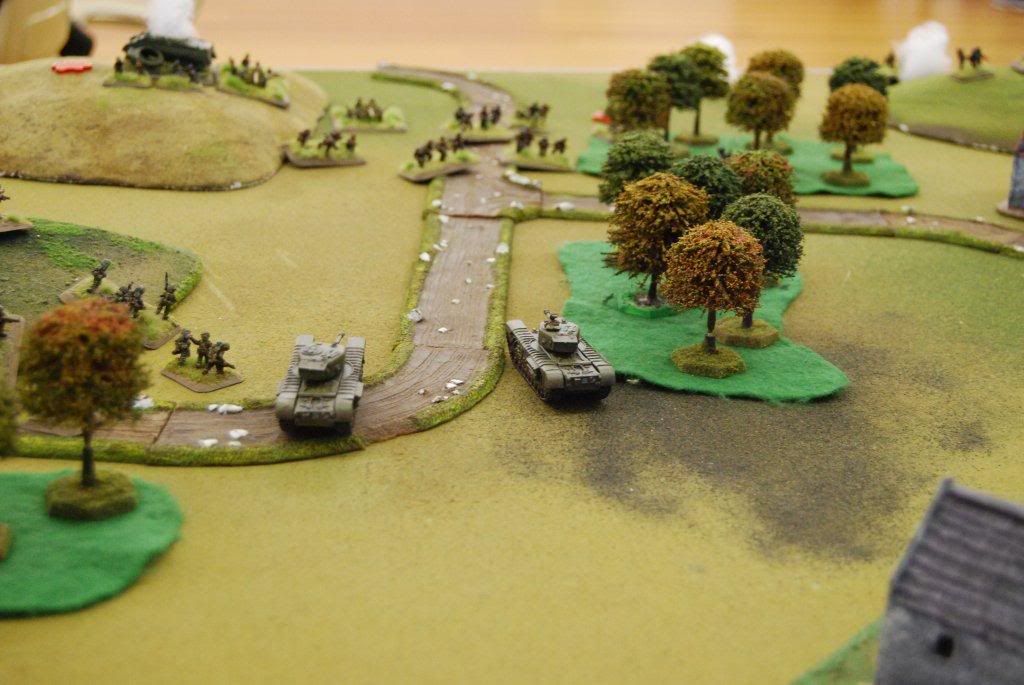
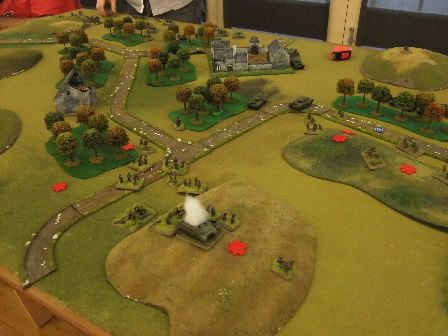
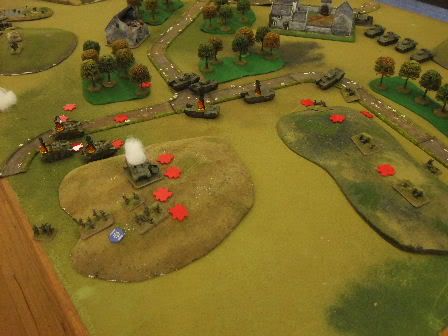
The Rifle Platoon on Griddon's left pushed forwards, using some woods and then a hill for cover. The Churchills and the PaK40’s dueled it out for a few turns, both struggling to make a dent in the other. The Churchills took the opportunity to leap-frog forwards while trading shots with the German anti-tank guns, always keeping one tank still to get more shots off.
The British 8 gun battery was fairly ineffective early on, either failing to range in on targets, or having most of the teams hit pass their saves with flying colours!
The same is also true of the Nebelwerfers, as they could not make a dent in the Churchills, while the British infantry remained out of sight.
While the artillery wasted shells (and rockets!), and the tanks and PaK guns traded ineffective shots, the PzGr platoon that was deployed near my left objective moved across to settle in next to the PaK’s, ready to repel the infantry assault that was sure to come.
The early phase came to a close with the Churchills finally knocking off one of my PaK guns.
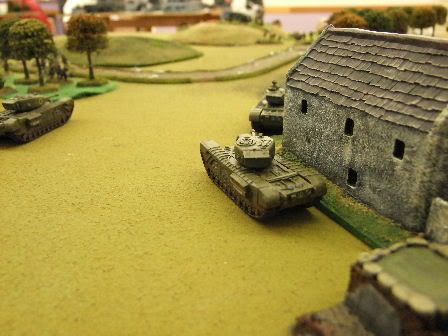 |
| The Churchills dueling with the PaK40's |
 |
| The combatants close in |
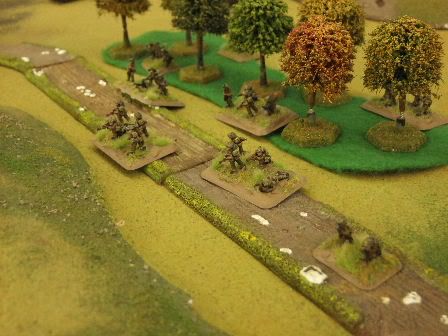 |
| The British infantry push through the woods |
 |
| The British gun battery, firing rubber rounds early on |
MID ACTION
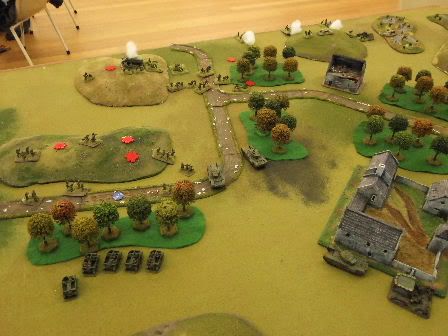
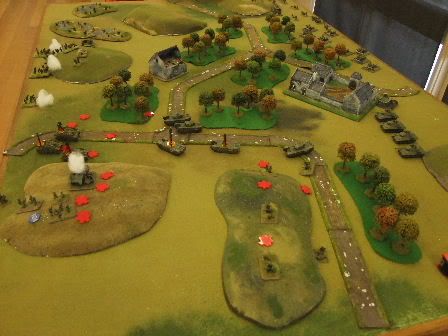
Around about now the artillery from both sides decide that its time to kick it up a notch. First Griddons 8 gun battery ranged in on my PzGr platoon, killing 2 stands, including my 1IC! Then my Nebelwerfers range in on his Rifle platoon cresting the hill, knocking out a stand. My PzGr’s get in on the action, and open up on the Rifle platoon, knocking out two more. Both platoons are pinned, and decide to stay that way for a turn or two. While the poor infantry were being blown apart, Griddon was able to get some reserves on, with the HMG platoon and the other Churchill platoon arriving on Griddons left, and a Rifle platoon arriving on his right to guard an objective. The HMG’s immediately pushed forward, while the Churchills stayed back and delivered some long range firepower at the PaK guns. Meanwhile, my reserves hadn’t set their alarm clock, and were running late!
Over the course of the next few turns, the British wrestle control of their left flank from the Germans. Fire from the two Churchill platoons, the 8 gun battery, and the remaining infantry of the Rifle Platoon whittle the PaK platoon and the PzGr’s down to next to nothing.
 |
| The Churchills menace the German flank |
 |
The PzGr's move into position while the Rifle platoon crests the hill |
 |
| The Nebelwerfers fire at the Rifle platoon |
 |
| Infantry from both sides are caught in the open |
 |
| The HMG carriers move forward |
LATE ACTION
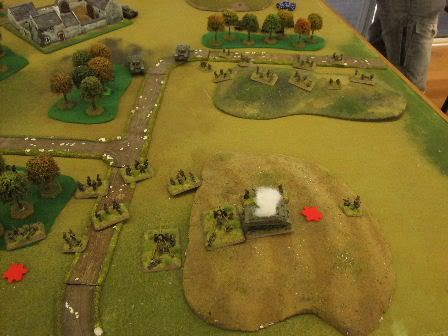
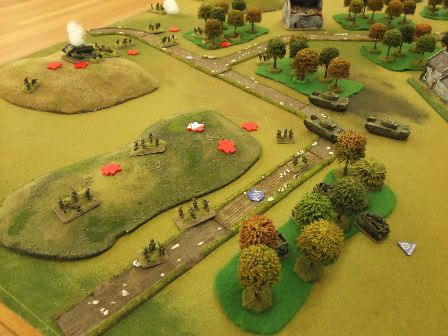
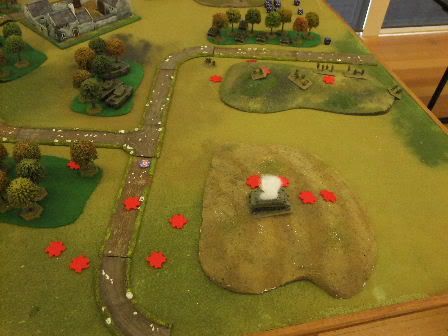
Reserves! I need reserves! I do manage to get my StuG’s, but unfortunately, they arrived on the wrong flank, and so double time it across the centre to get into a position from where they could strike. Meanwhile, the depleted PaK platoon and PzGr platoon take more casualties from the 8 gun battery and the churchills, and decide enough is enough. Both platoons fail their morale checks, and leave my right flank empty, with a clear path to the objective on the hill.
The entire British right flank legs it forward, smelling victory in the air. The Rifle platoon double times it so as to be in range to hold the objective. The artillery and a Churchill platoon open up on the speeding StuG’s, but fail to do any damage.
I get another platoon from reserves, a PzGr platoon. They would have been great on my right flank, where an exposed British Rifle platoon were trying to take an objective, but fate is cruel, and apparently the map reading skills of the PzGr platoon leader were quite useless, as the scattered reserves rule meant they showed up on the wrong flank too. So they too doubled timed across the centre.
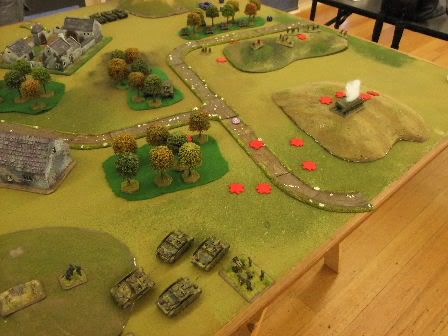
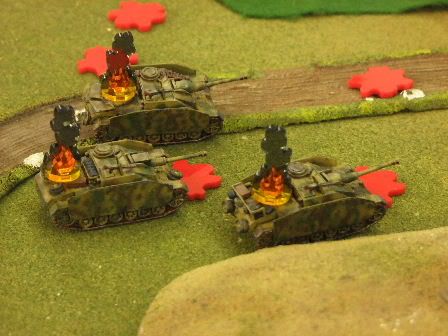
Meanwhile, the StuG’s rushed towards the objective now in the hands of the British. (Griddon: Just for clarity, Troops that double time cannot hold an objective for the next turn, so I was moving up there with a view to digging in on the objective the following turn, but it was moot as I had to assault the Stugs.) One managed to get close enough to contest it, but as the Rifle platoon were over the crest of the hill, they had to turn their guns on the approaching Churchills. Four shots, two wrecked and burning British tanks. The survivor failed the morale check, and legged it. Hmm, not bad. Unfortunately, the M10C’s showed up, and their fire combined with the other Churchill platoons fire knocked out two StuG’s. The Rifle platoon then assaulted the two remaining StuG’s, bailing one, and although the surviving tank failed to kill anyone in return, the Rifle platoon decide to involuntarily withdraw. The surviving StuG failed his morale check too, and promptly fled the field.
This left the objective in the Rifle platoons hands. My Nebelwerfers had one last attempt to shoot the British off of the objective, but failed to kill anything.
The British had won.
 |
| The blood soaked hills |
 |
| The German right flank is crumbling |
 |
| And now its gone! |
 |
| The StuG's rushing to the rescue |
 |
| Some burning Chruchills! |
 |
| M10Cs to the rescue (Hi Graeme!) |
 |
| And then some burning StuG's |
AFTER ACTION
Encounter is one of those missions that the roll of the reserve’s dice can go a long way to deciding the outcome of the game. Griddon was able to roll em up early, and get em on the flank he desired. My reserves were quite the opposite. I only got 2 reserves for the whole game, and they both arrived on the wrong flank.
This is not to say Griddon didn’t deserve his win. He played like a pro, and the pressure he applied on my right flank was tremendous. His tactic of leap-frogging his Churchills forward so as to get more shots off eventually paid off, with the PaK40’s slowly being whittled down. And I must say, I hadn’t paid a second thought to western allied tanks before, as they seemed to be made of cardboard ;) But those PaK rounds just kept bouncing off of the front of those Churchills. No Fair! I’m bringing Panthers next time.
Some final shots of the battle for close with! See ya next time!
 |
| The field of battle at the end |
 |
| The objective in the hands of the Rifle platoon |
great looking game
ReplyDeleteGreat battle report, I just had one question: What company are those roads from? I must have them.
ReplyDeleteLachlan. Can't be sure where the roads came from. We're lucky at Bunker 3030 in that our local gaming club is well stocked with terrain. They have had these roads for a good while. I noticed that the roads stocked by Miniatureworldmaker.com.au looked pretty similar. Check them out. http://www.miniatureworldmaker.com.au/products/id-6572/productlist/
ReplyDelete