
Hi all. Griddon here with an early update on the 6th Guards Tank Brigade bits I'm putting together and painting.
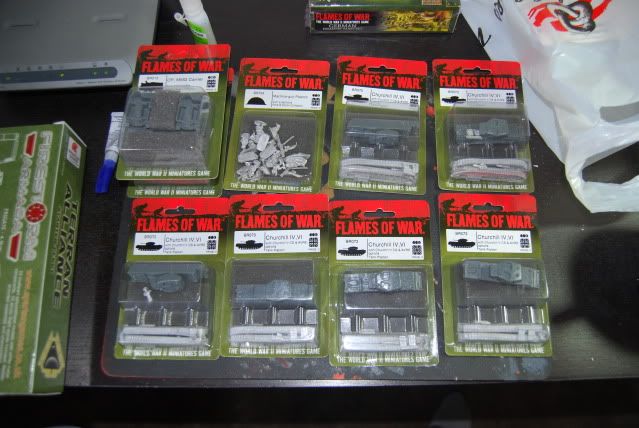
I received all my bits courtesy of Viv at Battle Bunker, Northcote. (If you haven't come across Viv yet, he's a bit of a Youtube personality. Check him out. Lots of cool scenery videos.) I cracked open the Churchill blisters and settled in for a quiet Saturday morning assembling all the tanks. As usual, the first process is to check the resin for defects, remove the flash and then wash the resin parts in warm soapy water. While they are drying I set to fixing and filing the metal bits.
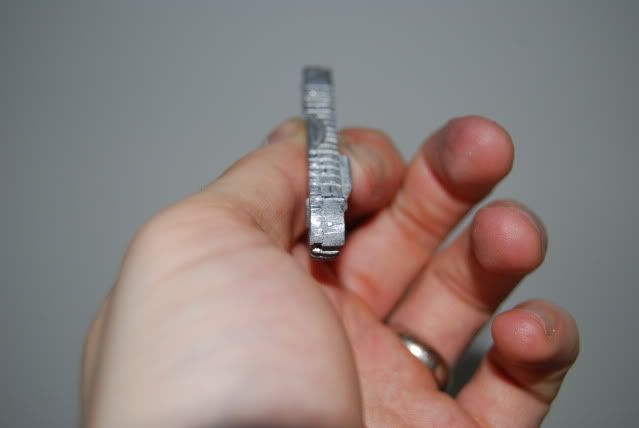
I was quite disappointed with the quality of the metal parts in the kits. Five of the six Churchills featured quite poor moulding defects to the rear of the tracks. Looks to me like they were de-moulded too early or the tool halves were misaligned.
To fix these errors I resorted to a 'green stuff wipe'. Since the defects were typically voided areas I wanted to fill them flush to the intended surface. To do this I mixed up some green stuff and wiped it across the offending areas. Some greenstuff gets trapped into the voided areas and with a wet finger I smoothed these over.
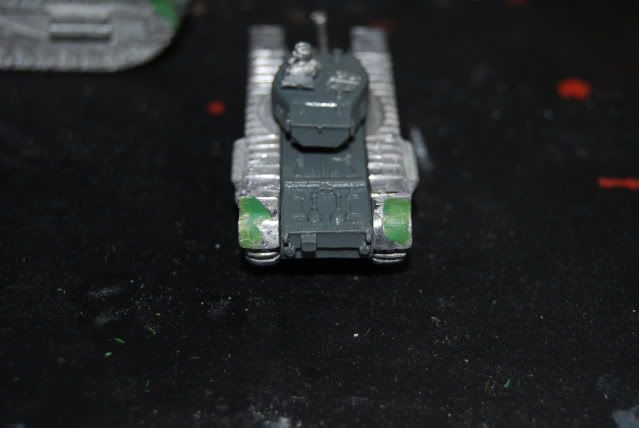
When the greenstuff is cured and hard enough to file, I filed the surface back to metal, leaving greenstuff only in those areas that are sub flush. These repairs will still be visible on the finishes tanks because the thin paint layers wont level the surface to any great degree but it's about the best I can do with the resources I have. The proper fix is for Battlefront to get on top of their suppliers and manage the quality a bit. The sixth tank was close to perfect so it's proof that they can get it right. I'm also a bit upset with the 75mm MkVI barrels. Five out of 6 have a witness half way down the barel like someone tried to cut it. Can't do anything to fill that as it's so fine but I'm pretty sure it's going to show up after painting. Come on Battlefront!

As for the actual assembly it's just a simple super glue process. Zap a gap is my preferred weapon here. With that, we have six tanks ready for paint. Note I have two tanks featuring commanders poking out of the open hatches. This helps me and my opponents identify the troop leaders on the table top. If you don't like having the commander models on your tanks, just find another way of distinguishing the troop leaders.

To this point, probably about 2 hours work excluding green stuff cure time. Not a long time really. So if you're looking at starting FoW, take heart; Even assembling 500 points of tanks with defects doesn't take a long time.
Since the weather was fine I set to priming the assembled tanks. I ran out of paint though so instead I thought I'd put the MMG carriers together. They didn't take to long at all. Probably about 30 minutes for all four. Same process as with the tanks. Resin clean and wash, file metal, glue it all together. I'll cover those guys along with the Vickers Machine Gun stands in another post some time soon.
That's it for this small update. I have an exam this Friday so looking forward to clearing that and then getting stuck into finishing these guys and my Grossdeutschland project later in the year.

No comments:
Post a Comment