
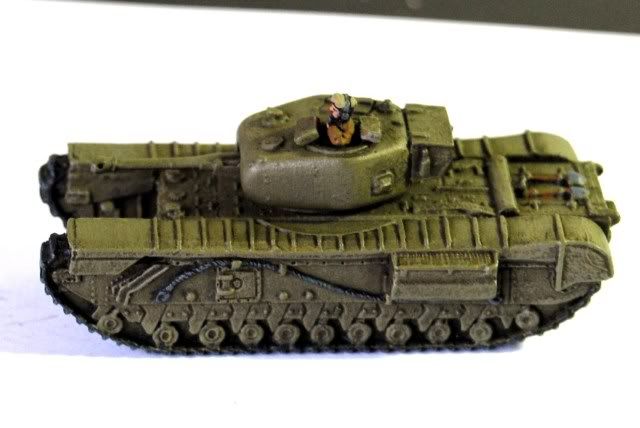
So, for the painting I went with the basecoat, wash and drybrush method for the main armor and did some detail work only on the various bits of gear strapped to the tank.
Here is a quick run down of the process for those who aren't familiar. Let's assume you've got your preferred primer already on the model.
Step 1: Basecoat by brush, two thin coats of Russian Uniform.
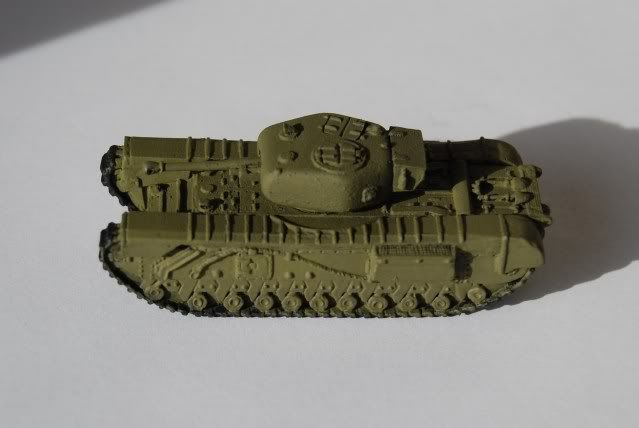
I didn't worry too much about getting Russian Uniform where it wasn't wanted at this point as the tracks get a coat of very dark brown later.
Step 2: Wash with Devlan mud. Apply one liberal coat all over.
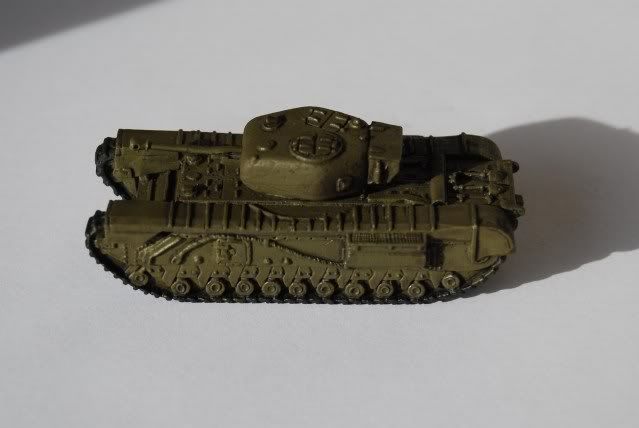
Step 3 and 4: Dry brush first with Russian Uniform and then a 1:1 mix of Russian Uniform and Khaki.
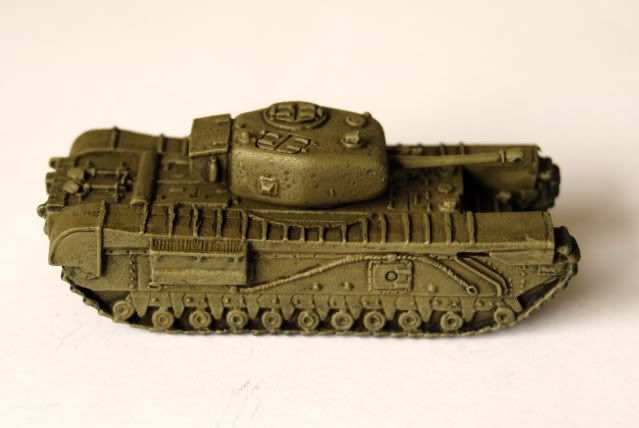
Step 5, 6 and 7: Apply a mix of 4:1 Black, Brown (any will do) to the tracks and the steel cables. Wet brush these with Grey (I used Adeptus Battlegrey). Paint the shovels with grey on the metal areas and dark brown on the wood areas. Again, colours aren't desperately important.
Sorry about the bad lighting in the photos. I'll fix that for the final shots later.
As I mentioned already, I still have decals to do. I'm also going to get some weathering powder for the tracks and the gun muzzles. The decals will probably get done later this week but I'll have to wait until the weekend to get the weathering powders.
Besides that I've got the machine gun platoon to do. That will probably take just as long as the tanks on their own. Damn those pesky 15mm infantry!
Thanks for reading.

They look so nice for such a quick and simple painting process. Looking forward to facing em on the Bunker's battlefields :)
ReplyDeleteseconded- they look great!
ReplyDeleteBrilliant, nice and quick. Put's me to shame. I've got to paint up my Irish Guards so very useful tutorial. Let's see a photo of the finished decaled pieces!
ReplyDelete