
Hi All. I thought it would be a good idea to update on my 6th Guards Tank Brigade project.
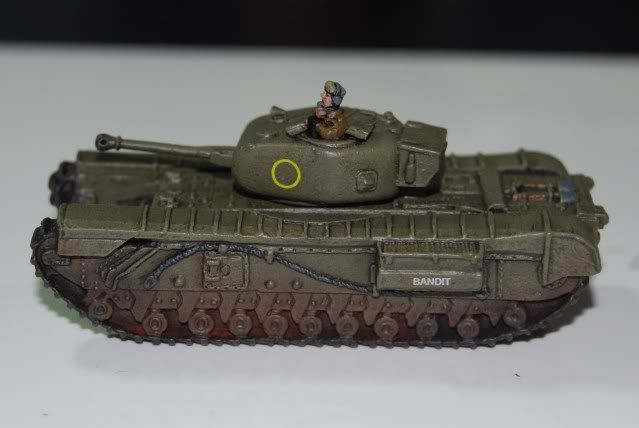
I've finished the tanks! Hoorah! All six are completely finished including decals, weathering and sealer. I've resisted posting a picture of the whole lot as I want to hold that over until I'm finally finished with the entire 1750 point list. So, for the moment, just a picture of the first one!
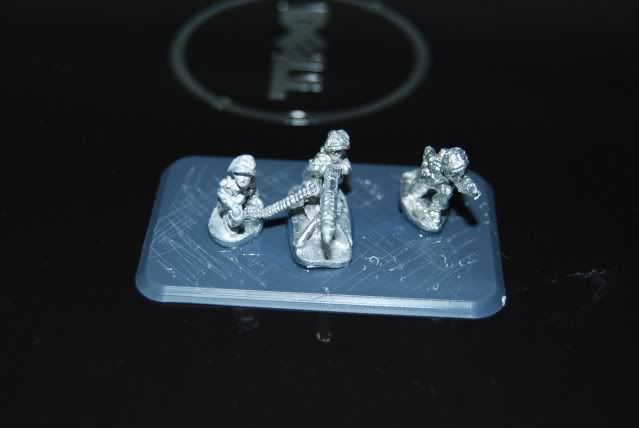
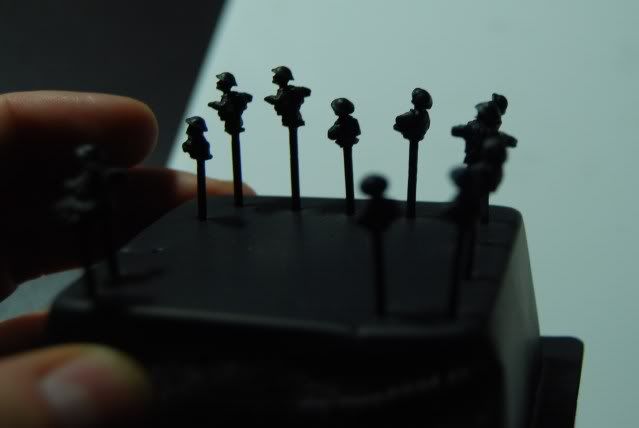
I also thought I'd show how I'm doing my machine gun platoon. I have two methods on the go. For the first method I have miniatures glued to the end of a small nail for ease of access. These are the guys from the universal carriers and they might have been quite awkward to paint if glued to the vehicle. I wanted to show this method as it's how I painted the first two of my three British late war rifle platoons. It has its merits for standard 15mm infantry for sure. Ease of access being the main one. This allows you the best chance at catching all the details of the miniatures but once finished you have to glue them to the base and texture / paint the base seperately.
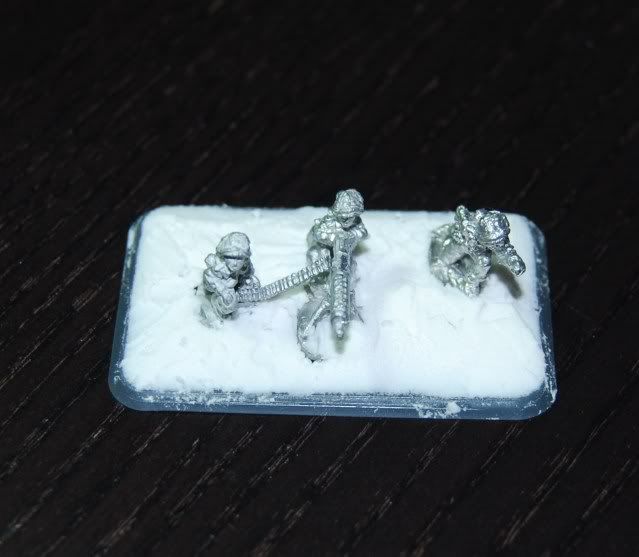
I now prefer to glue my bare metal miniatures to the base, texture the base and undercoat prior to painting. I find this much quicker and with four infantry per base it is usually pretty easy to get in amongst the minis to capture the detail. In the instance of the Vickers machine gun platoon, I'm not sure I had much choice anyway as the Vickers machine gun itself is rather difficult to assemble as it has a very small land area to make the bond for both the Vickers and the belt feed. Super Glue makes short work at messing up paint jobs so it just wasn't worth the risk for me.
I've included some pictures for the methods here. I use a standard decorators filler to texture my bases. It's a bit brittle but it's easy to work with and when coated in PVA prior to painting it seals nicely and I don't have a problem with chipping. It has a nice surface texture on its own without needing sand too and I believe it gives a more natural finish to a heavy drybrushed sand coated base. Each to their own.
I also just want to show some pictures of the pigments in action. One thing to bare in mind is that the pigments are really dulled down and blended when you apply the sealer. So when applying they may look a bit over done but don't worry. They will come good. Here's a picture of one of the Churchill's before sealing.

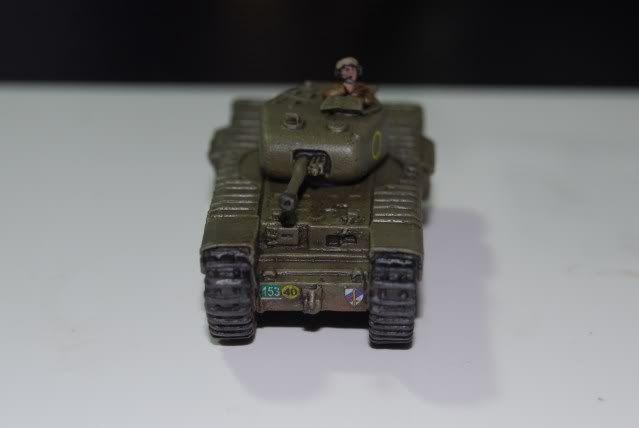
Finally, a picture of 'Bandit' from the front, showing the superb Dom's Decals in action!
That's all for now folks. I'll have the final shots when I get round to painting the Vickers platoon. That wont be too far off hopefully. Thanks for reading!
That's all for now folks. I'll have the final shots when I get round to painting the Vickers platoon. That wont be too far off hopefully. Thanks for reading!

Had a good look at these tanks last night, and they're looking fantastic. Good paint job, excellent decals, and the weathering just tops em off nicely.
ReplyDeleteNow I must field my Tigers in greater numbers ;)
Nice. Keep 'em coming. Csn we hace a close up of the sealed weathering please? I looked at my T34s again yesterday and alot of my weathering with pigments are barely visible after sealing. Also, what colour are you using there?
ReplyDeleteThanks guys. Justin. I used a couple of Vallejo pigments. I'll take a close up of the weathering and take a picture of the pigments on my final part some time this week.
ReplyDelete